JupyterLab is the latest web-based interactive development environment for notebooks, code, and data. Its flexible interface allows users to configure and arrange workflows in data science, scientific computing, computational journalism, and machine learning. A modular design invites extensions to expand and enrich functionality.
Installing JupyterLab on Windows
You can install JupyterLab using either pip or Anaconda. For this guide, we’ll be using Anaconda.1. Create Your Conda Virtual Environment
As a personal preference, I recommend installing JupyterLab in a conda virtual environment.
You can find the steps to set up a conda virtual environment here.
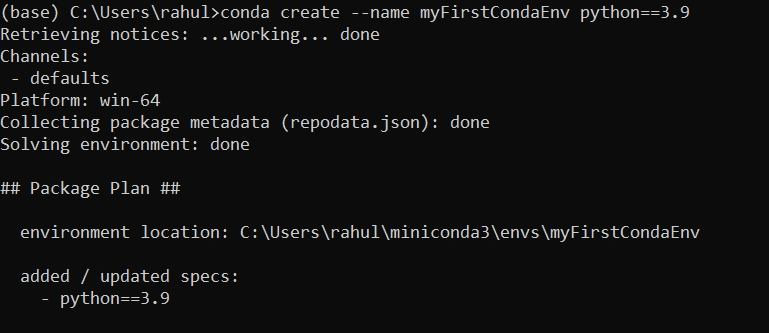
Alternatively, you can create a conda virtual environment with the following command:
conda create --name myFirstCondaEnv python==3.9This command will create a conda virtual environment named myFirstCondaEnv and install Python 3.9.

2. Activate the Conda Environment
To activate the conda environment created in previous step use the following command
conda activate myFirstCondaEnv3. Install JupyterLab
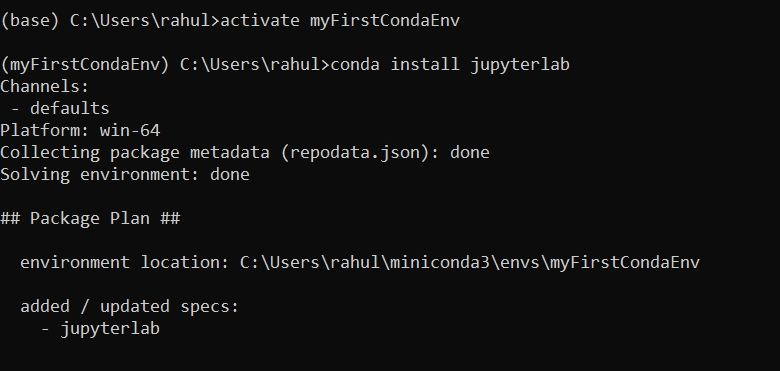
After creating and activating your conda environment, run the following command to install JupyterLab.
conda install jupyterlab
4. Start JupyterLab
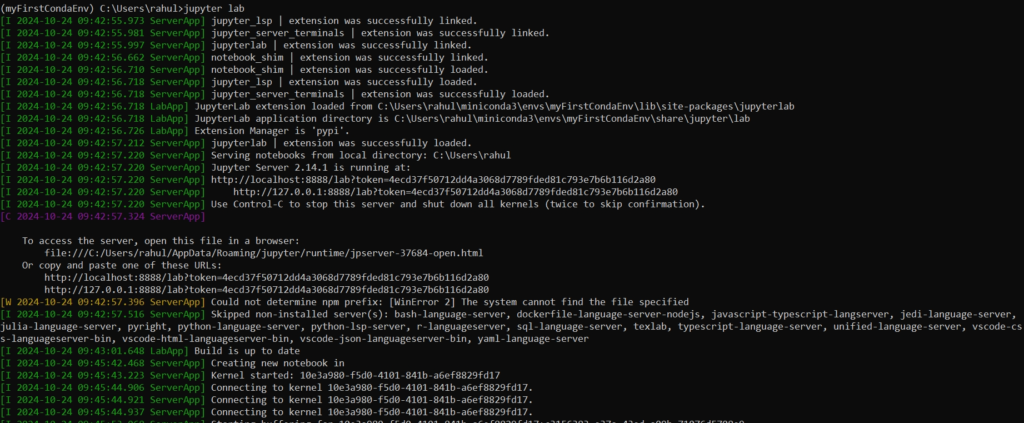
To start the jupyter lab use the below command.
jupyter lab

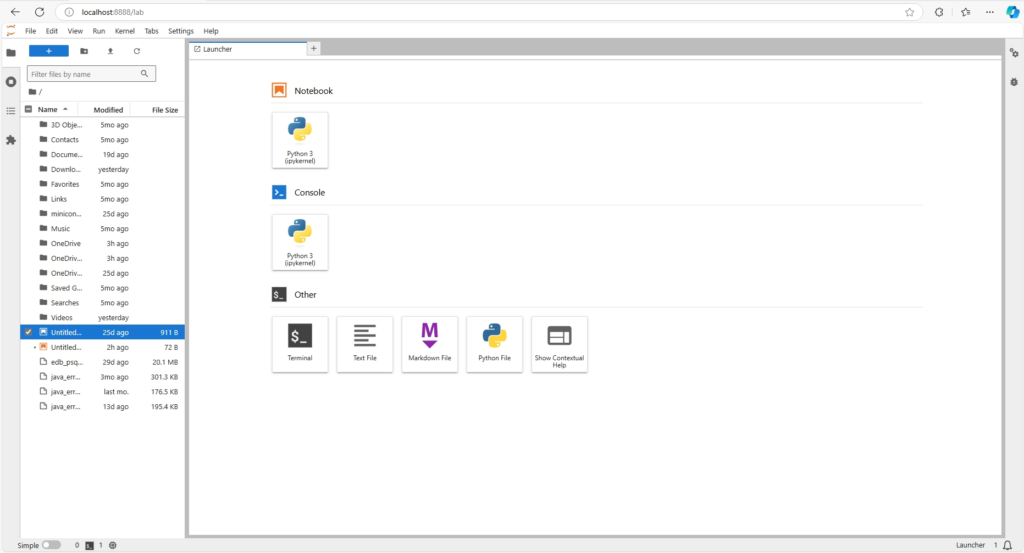
Now from the above interface you can start Python3 notebook , Python 3 Console ,Windows Terminal, Python File etc.
Now you can use JupyterLab as your coding ide.
Happy coding!
