In this article, we will cover the installation procedure of Apache Spark on the Ubuntu operating system.
This article is divided into 4 parts.
- Install java on Ubuntu.
- Download the Spark package from the official website.
- Setting up the path variable.
- Verification of the installation.
System requirements:
- Ubuntu Installed (I am using ubuntu 18.04.4 LTS. )
- Minimum 4GB of RAM
- 10 GB of free space.
Install java
Spark need java for execution, So before installing spark we need java to be installed. Check if java is already installed.java -versionsudo apt-get install default-jdk
Download the spark package
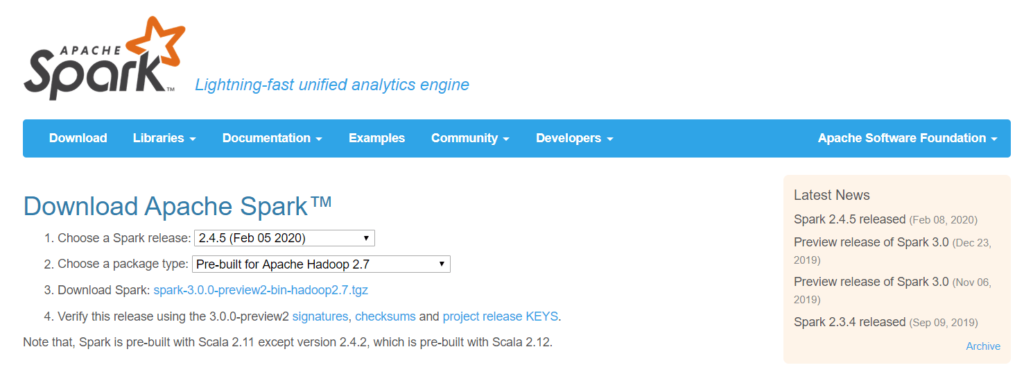
To download the spark go to https://spark.apache.org/downloads.html and choose your spark release and package and then click on download spark. Save it to /opt/spark (mkdir -p /opt/spark ) directory.
Since its a tar file . So we need to untar it using below command
tar -xvf spark-2.4.5-bin-hadoop2.7.tgz
chmod -R 775 spark-2.4.5-bin-hadoop2.7
Setting up the path variable
To start spark everytime I need to go to /opt/spark/spark-2.4.5-bin-hadoop2.7/bin and then start it. To overcome this limitation, we need to set the SPARK_HOME in .bashrc file.
vi ~/.bashrc
SPARK_HOME=/opt/spark/spark-2.1.1-bin-hadoop2.7
export PATH=$PATH:$SPARK_HOME/bin:$SPARK_HOME/sbin
save it
source ~/.bashrc
Verification of the installation
To verify if the spark is installed correctly. Type spark-shell in the terminal.
And you should see the below screen.
Write the below code and see if you get the desired dataframe.
val nums = Array(1,2,3,5,6)
val rdd = sc.parallelize(nums)
import spark.implicits._
val df = rdd.toDF("num")
df.show()
Conclusion
Congrats! You successfully installed Apache Spark on Ubuntu and used spark-shell to execute several example commands. Please leave me a note in the comments area if you need help setting up. I’ll do my best to answer with a solution.
Happy studying!
